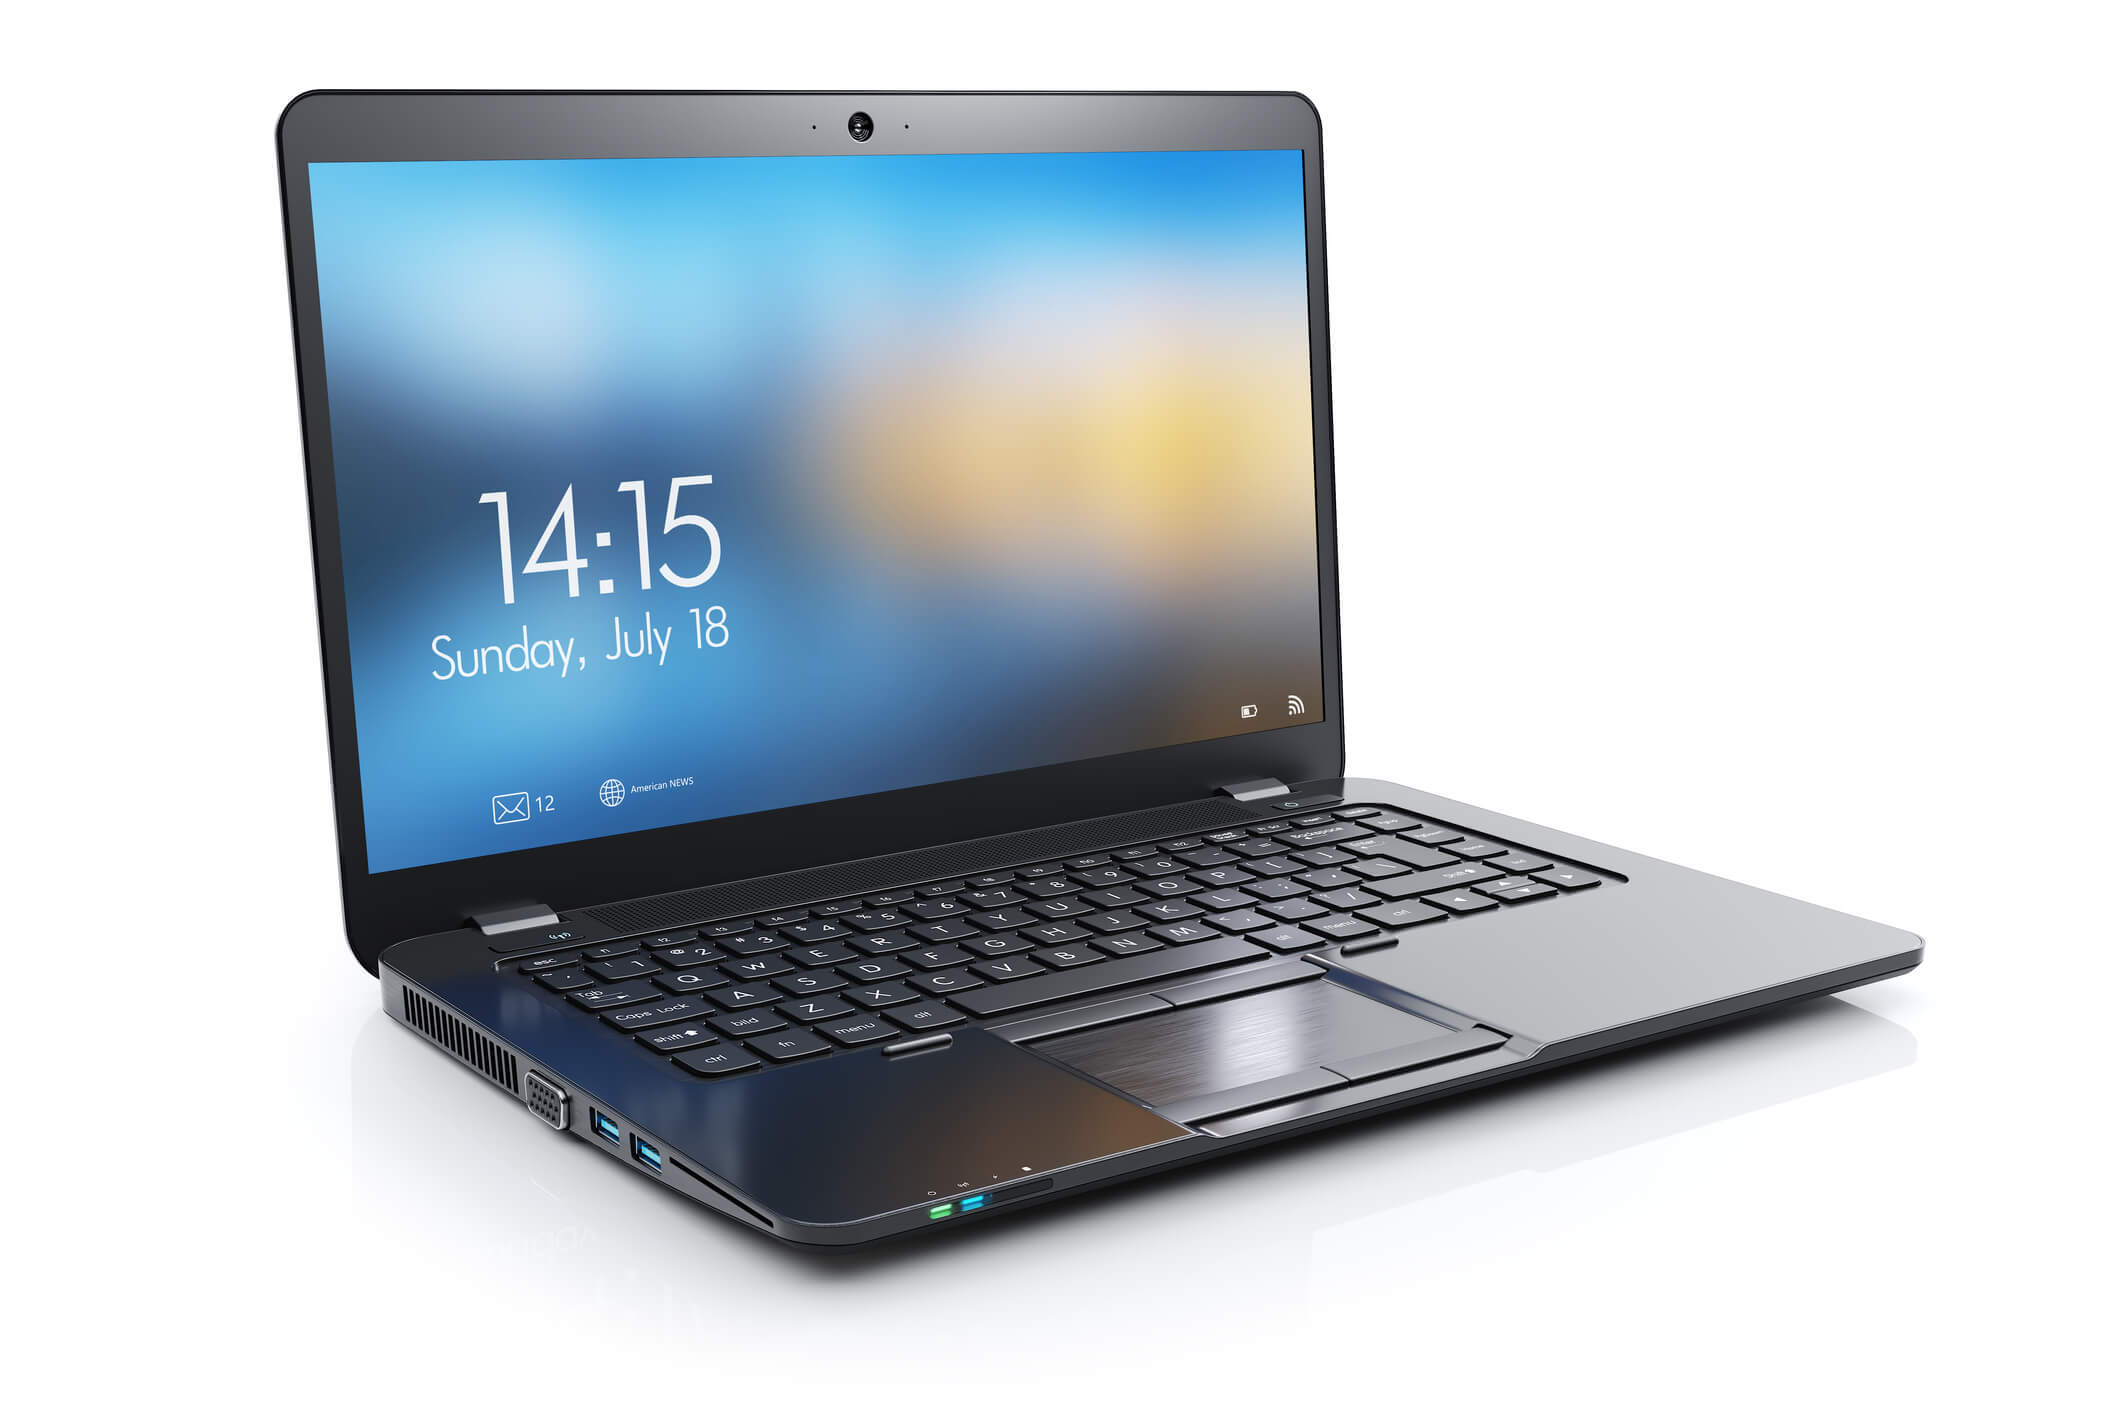
Clear Your Laptop Before You Sell It

How to Clear Laptop Before Selling It?
Have you decided to sell your used laptop? If you don’t need it anymore or you want to buy a new one, this is a great option. You will not only get rid of the device you don’t need but will also make some money you can invest in a new one, if you want that.
There are many places where you can sell your used laptop online for cash. It can be online, using some of the well-known sites like eBay, Amazon, Craigslist, and Facebook Marketplace, depending on where you want to sell it. Namely, if you want to sell it locally, Facebook Marketplace as well as some other sale websites operating locally are the right choice. But, if you want to increase your chances of selling it and possibly get a higher price, eBay, Amazon, and other individual IT service companies, like ours, are your best option.
However, before you even start selling it or before you actually send your laptop to the buyer, you need to take care of a few things. The first one is to check the aesthetics of your laptop, i.e. you need to check if it looks good on the outside. Are there cracks on the surface? Is the screen damaged or has some blemishes? Are all keyboard buttons there?
You need to check these things before you can decide as to Where and How to Recycle Old Laptop? especially if your laptop is preserved and in working condition. It’s because if it works well and looks good, you will get a higher price for it. On the other hand, if it’s working but has superficial damages, you won’t get a good price.
So, make sure you take care of these things. And, of course, replace or fix the damaged parts worth investing in so that your laptop looks great and you can get an as high price as possible.
Clear Your Used Laptop
Ok, so once you’re done checking the surface of your used laptop, it’s time to erase all data stored on it. This step is crucial as it ensures none of your photos, videos, documents, and other private data fall into someone else’s hands.
You can do it yourself or take it to a PC service nearby. This depends on your personal preference as well as the condition of your laptop. But, if you decide to do it yourself, make sure you follow the steps described below.
So, let’s get started!
Backup Your Files
First things first, you have to back up your files. This refers to any file or app you’d like to have and keep using on your new laptop. Although this step is usually used when we want to keep a copy of something, especially in case of a computer’s malfunction, it’s also essential when you want to clear laptop. So if you want to sell a Dell Latitude 7390 Intel Core I7 Series, This process will allow you to keep all your important data and any apps you’d like to have for future use and be able to format your used laptop without losing your data.
So, how to do it?
First, you need alternative storage space, like an external HDD or a USB drive with a big memory or a cloud storage system like OneDrive, iCloud, or
Pro Tip: Before backing up your video files, consider using an MP4 compressor to reduce their size without significantly losing quality. This can speed up the backup process and help you save storage space, whether you’re using an external HDD, USB drive, or a cloud service like OneDrive or iCloud.
To make sure you do the right thing, we’ll look into backing up your files from different operative systems, including Windows, Apple, and Chromebook.

Windows Users
If you use thinking of selling a Microsoft Surface Pro 4 Intel Core I7 Series laptop and is running windows on your laptop, there is a built-in Backup feature in Windows 7, File History in Windows 8, and Windows 10 has both of them, which allows you to, both, back up your files, apps, and even settings and installation and restore them.
Also, you need to find and save the serial numbers of any software you use using an app such as ProduKey or similar.
When Using an External HDD:
- Connect the drive
- Open Control Panel > System and Security > Backup (Windows 7)/File History (Windows 8), and Backup and Restore (Windows 10).
- Click the Create a System Image link on the left pane.
- Select On a Board Disk under “Where do you want to save your backup?
- Choose the location to which you’ll copy your files from the dropdown menu and any additional drives you may want to include in the backup.
- Click Next > Start Backup.
Alternatively, you can copy and paste all files without using the Backup feature. To do that, you need to:
- Create a separate folder with all the files you want to backup
- Open File Explorer
- Select the folder > select the files and folders you want to copy
- Go to the Home Tab > click Copy To > Choose Location > select the external HDD > Click the Copy button.
When Using OneDrive:
If you already using this cloud storage service, all your files are already there. But if you aren’t, then, you should:
- Create a separate folder with all files and apps you want to backup.
- Open File Explorer.
- Select the folder with the files you want to backup.
- Select everything you want to backup.
- Go to the Home tab > Choose Location > choose the OneDrive folder > click Move.
NOTE: If you don’t have enough space to add all your files on the drive, you may consider buying a subscription to Office 365 to get 1TB of space.
Apple Users
The backup process is quite similar to the one described above. If you are thinking of selling a Apple Macbook Pro A2289 Intel Core I5 Series the difference is that instead of using OneDrive or Google Drive, you will back up your files to iCloud. But keep in mind that if you use the cloud, you have to disable its features such as Messages, Apple Music, and Find My Mac. Also, you should copy your keychains to a USB drive. This will save you from re-entering the Wi-Fi passwords from the networks you’ve used as well as logging in to your online websites.
Chromebook Users
Chromebook like selling a HP Chromebook 15 De Intel Core I5 Series don’t have to bother about anything because all their files are already saved in Google Drive. So, they just need to back up apps, keychains, and similar data using an external HDD.
Clear Your Used Laptop
After all your data has been backed up and it’s safely stored on an external HDD, a USB drive, or a cloud-based drive, it’s time to wipe it. This process is a bit different per each operative system. So, let’s take a look at how you can do that if your computer uses Windows, Apple, or Chrome.
Windows Users
If you want to sell a Microsoft Surface Book Intel Core I7 that is running Windows 10, go to:
- Start Menu > Settings > Update and Security
- Find the Recovery menu > Reset this PC > Get Started
- Click Remove everything > Change settings
- Turn on the Data erasure toggle switch.
In case you have multiple drives, make sure you check the “Data drives” option to wipe all drives. If you have an external HDD connected, detach it first, and then click Confirm > Next > Reset.
If you use Windows 8:
- Click the Windows key + C – this will open the Charms menu.
- Click the Search button and type “reinstall” but DON’T press Enter.
- Click the Settings option and choose Remove everything and reinstall Windows, which is found on the left side of the screen.
- When the “Reset your PC” screen appears, click Next.
- On the “Do you want to fully clean your drive” screen, choose Fully clean the drive.
- Click Reset on the next screen.
This will not only erase your drive and all files but will also reinstall Windows 8. If you have are thinking of selling a Dell Inspiron 7568 Intel Core I7 Series, you can apply these settings to reinstall Windows.
If you use Windows 7, XP, or Vista, it’s best to use a third-party app like DBAN. You just have to download it online as an ISO image. Then, you need to extract it onto an external drive.
Once you’ve done that, you need to detach and insert the external drive again and restart your laptop. When you see the reboot screen, make sure you choose to boot from the drive, following the steps.
Apple Users
If your laptop has the Apple operative system, then, you need to restart your computer to start the wiping process. To do this, you need to press Shift + Option + Command + R at the same time until the Apple logo appears. Your computer will reinstall the OS your laptop came with.
- Once the process is finished, a Utilities window will appear and you’ll have to:
- Open the Disk Utility and erase the HDD by selecting the same.
- Choose the MacOS Extended format.
- Quit Disk Utility when the process finishes.
- Go to the Utilities window > Reinstall MacOS.
This will reinstall the operative system that was originally installed. To leave the setup process to the new user by pressing Command + Q.
Chromebook Users
If you use Chromebook that you want to sell like Lenovo Yoga Chromebook C630, you need to:
- Click your account photo > open the Settings menu > Advanced
- Find the Powerwash section and click on it.
- This will restart your laptop and erase all your data. Don’t log in after the computer restarts so that the new user becomes the primary user of the device.
How to Clear a Non-Working Laptop?
Wiping your laptop’s HDD and reinstalling the operative system is quite simple if you follow these. In fact, it’s viable so that anyone who knows how to do it can do it without any problem.
But, what happens when the laptop doesn’t work?
The biggest problem here is that many people think their device is dead, hence their data are lost.
WRONG!
When a computer is dead, the problem usually lies in the motherboard or the power supply. And, yes, the hard drive is perfectly fine, which means that all your data are right there except you can’t access them.
But if you can’t access them because your used laptop doesn’t work and you cannot get it ready and find where you can sell your used laptop, that doesn’t mean no one else can’t get their hand on your data. Anyone who knows a bit about computers and electronics knows how to remove the hard drive from the dead computer and transfer it to a working one. With that, they gain access to all your data.
But, how can you erase all data from your device’s HDD if it doesn’t turn on?
At first, this sounds like a mission impossible. However, believe it or not, this is very possible. Although not as straightforward as wiping a working laptop, it’s still viable using third-party apps.
Let’s see how you can do that!
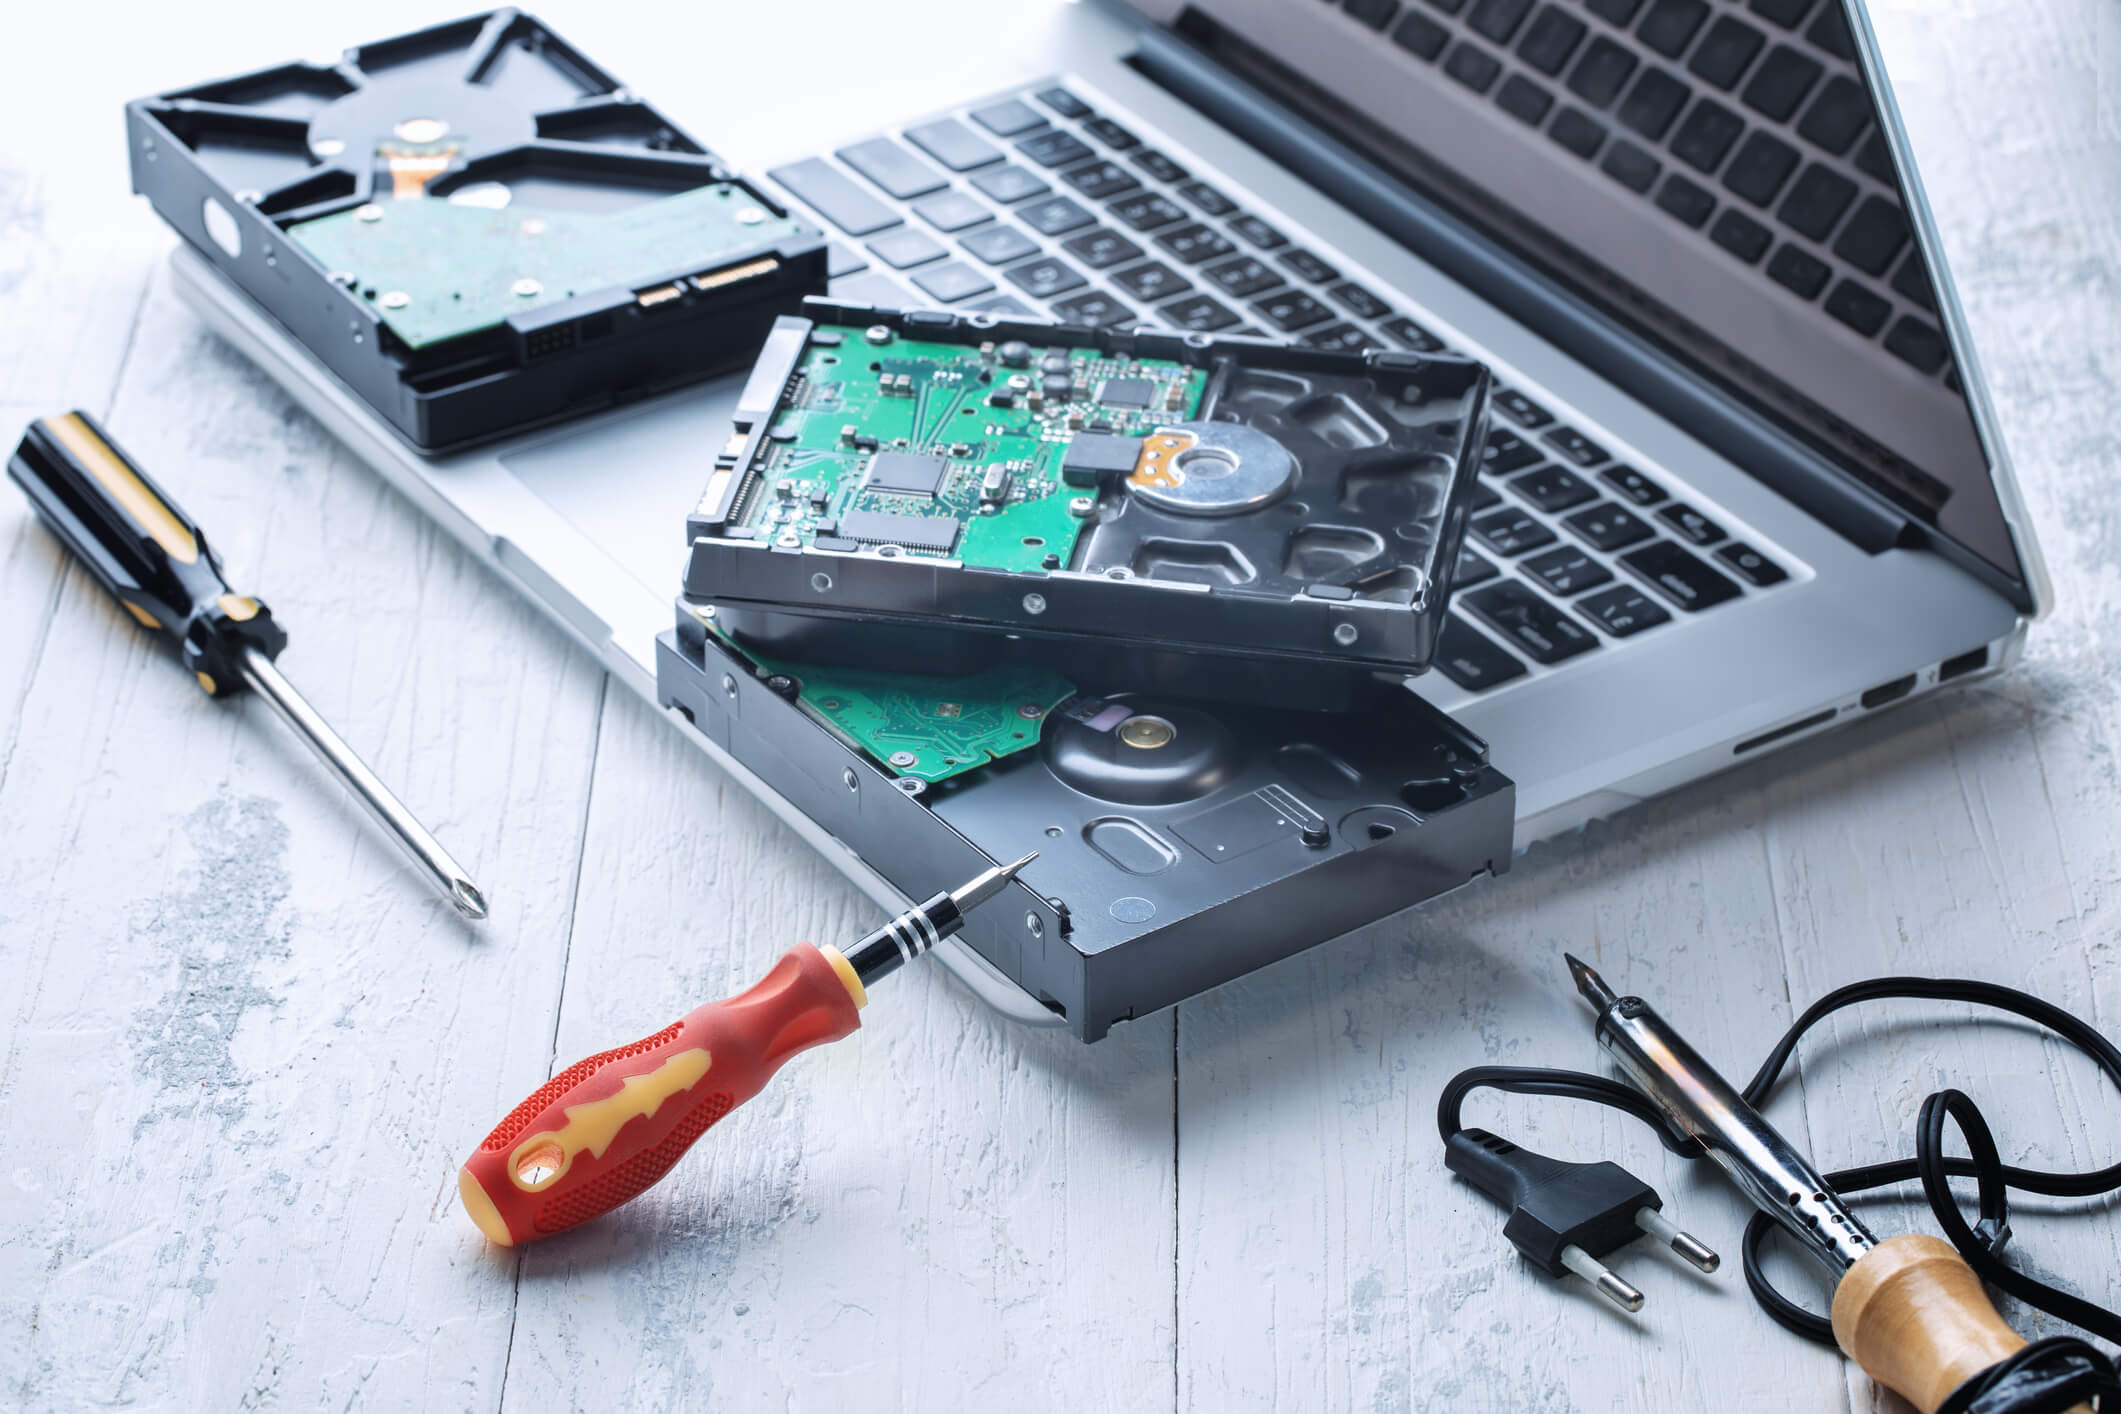
Remove the Hard Disk from Your Non-Working Laptop
First, you have to remove the HDD from your used laptop and transfer it to another to gain access to all data stored on it. And, by removing it, we mean, literally take it off its place and connect it to another, working laptop with a USB or SATA cable in an external hard drive enclosure.
If you have a working laptop and want to sell like Dell Xps 15 L502x Intel Core I7 Series, perfect! All you have to do upon connecting it to the working laptop is follow the steps already described previously in this article. But, there’s a big chance that all data can be retrieved from the HDD.
Why?
Because when you delete the data, they aren’t actually deleted from your operative system, but just removed from their directory, and someone can find them and reconstruct them with an un-erase program. Therefore, it’s best to, additionally, use a special app, like Eraser, Kill Disk, FreeRaser, DBAN, Disk Wipe, and CleanMyDrive (depending on the operative system).
However, if you don’t have another laptop, you’ll need another option, which leads to the next section – using a hard disk eraser.
Use a Hard Disk Eraser
If you don’t have another, working laptop and still want to sell your HP Elitebook 850 G1 Intel Core i7 laptop to which you can connect the hard disk from your dead laptop, you have to use a standalone hard drive eraser. It’s the easiest way to wipe your hard disk without worrying that your private data will end up in someone else’s hands. Some of the best-known ones are Drive eRazer Ultra, StarTech’s USB Hard Drive Duplicator, and Eraser Dock.
However, these devices are quite expensive and not worth investing in if you want to use them just for your laptop. As an alternative, you could ask some of the people you know if they have an eraser like that. Or, preferably, take your laptop to a reliable PC service store and let the technicians there do the work.
Encrypting Your SSD
Now that we’ve gone through all steps on how to erase your data from your working or non-working laptop and how to ensure it can’t be retrieved, it’s time to take a look at something many people miss out on.
The thing is that if you have a hard disk, you can wipe it out easily, as described above. However, if you wish to sell your Lenovo Ideapad Flex 5 2019 Intel Core i7 Touch Screen laptop has an SSD, which all laptops sold in the past few years have, you’ll have to encrypt your data. This will prevent it from being recovered after it’s erased.
How to Encrypt Your SSD?
At first glance, encrypting an SSD may seem too complex but it’s not. In fact, encrypting is easy, especially if you use Windows OS because there’s a built-in encryption option. So, if you are a Windows user, you should click the Start button > Settings > System > About.
If there’s an option “Device Encryption”, click on it and follow the steps. But if there isn’t such an option, you may be able to turn on BitLocker, if you have it on your laptop. And, if you don’t have the BitLocker but have to purchase it, it’s best to use a third-party encryption tool. There are plenty of them on the market, many of which are free to use, such as VeraCrypt and TrueCrypt.
If you are selling a Apple Macbook Pro A2141 Intel Core I7, you can encrypt the SSD in two ways – by activating the FileVault and via Disk Utility.
Via FileVault
To set up FileVault, you must be the administrator of your laptop. To activate the FileVault, you need to go to System Preferences > Security and Privacy > FileVault. If the lock at the bottom left is locked, click it to unlock it. Then, click Turn on FileVault and enter your password (if asked).
Choose how you want to lock and unlock your SSD between:
- iCloud account and password – convenient if you have an iCloud account. – or –
- Recovery key – a password made of letters and numbers that locks the SSD.
Then, click Continue.
Via Disk Utility
If you want to encrypt your SSD after you’ve erased your disk, you should use the Disk Utility. This, similarly to FileVault, uses a password to lock the erased data, thus preventing it from being ever recovered.
To encrypt your SSD this way, go to:
- Disk Utility app > View > Show All Devices
- Select the storage device you want to encrypt (SSD) > click Erase in the toolbar > name the volume
- Click the Scheme pop-up menu > GUID Partition Map
- Click the Format pop-up menu > choose an encrypted file system format
- Enter the password and verify it > Choose.
- Click Erase > Done.
Other Ways to Clear Your Laptop
Apart from all that has been said so far, there are a few other ways to erase the data from your laptop and prevent its recovery. One of them is by de-authorizing your laptop and the other by deleting and overwriting sensitive files. This feature is available in laptops running windows, so if you are selling a Asus Zenbook Ux580ge Series laptop.
De-authorizing Your Laptop
This refers to de-authorizing programs like Microsoft Office 365 and iTunes. It’s because they allow you to install software on a specific number of devices or allow a specific number of devices to access your files on the account. That’s why it’s a good idea to de-authorize your laptop from using those accounts. But keep in mind that you can do this for all your computers once per year, both, for Windows and Mac laptops.
To de-authorize iTunes, you need to:
- Open iTunes
- Sign in (if you aren’t already)
- Click Account > View My Account > De-authorize All
- In the pop-up window click De-Authorize All > click OK in the Deauthorization Complete dialog window
To De-authorize Microsoft Office 365, you need to:
- Open your browser
- Sign in to your Microsoft account
- Go to the Devices menu > Your devices (here you’ll find all devices registered to your account and those using the apps, music, games)
- Look for your laptop and click the Remove link.
- Click “I’m ready to remove this device” > Remove.
- On the confirmation page, click Back to Devices.
Delete and Overwrite Sensitive Files
We’ve already talked a lot about deleting data from your laptop. However, we didn’t mention the option to overwrite them. This option is perfect if you have sensitive data like taxes, bank account information, and similar files.
To delete this type of files, you should use special software/apps that meet government standards for secure deletion. You can use programs like the free app File Shredder. If you have an older Mac laptop, you can use the Secure Empty Trash option once you delete your files. You can find this feature under Finder.
Now that you’ve deleted your files, your accounts, wiped your data, encrypted it, and formatted your used laptop, you can finally proceed to sell it. but, don’t forget to clean it first so that it looks more like-new.